How to Use Snapseed for Instagram Worthy Photos
This site contains affiliate links of products or services. I may receive a commission for purchases made through these links.

Step 1: Choose Photo
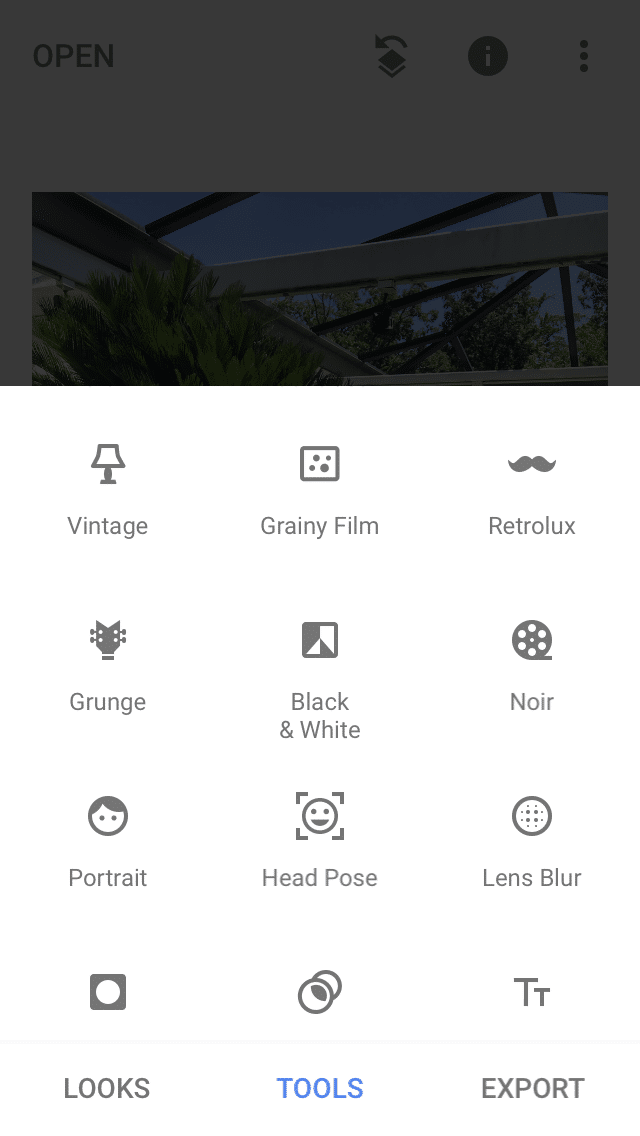
To choose the photo you wish to edit, open the app and click anywhere on the screen. Once you’ve chosen your picture, you will start to get some editing options at the bottom of the screen.
It defaults to Looks, but I actually don’t use that option. Click instead on Tools. You’ll see a full menu pull up of all sorts of fun things. Don’t get intimidated! We are only going to focus on about 3 tools and you can play with the others later. The order for using each tool is flexible, but I do always start with HDR Scape, since it does the majority of the work.
Tip: In each tool, there is a box in the top right of the screen. If you hold your finger on this box, the image will revert to the original. This is a quick way to see your before and after, to make sure your edits are looking the way you want!
Step 2: HDR Scape
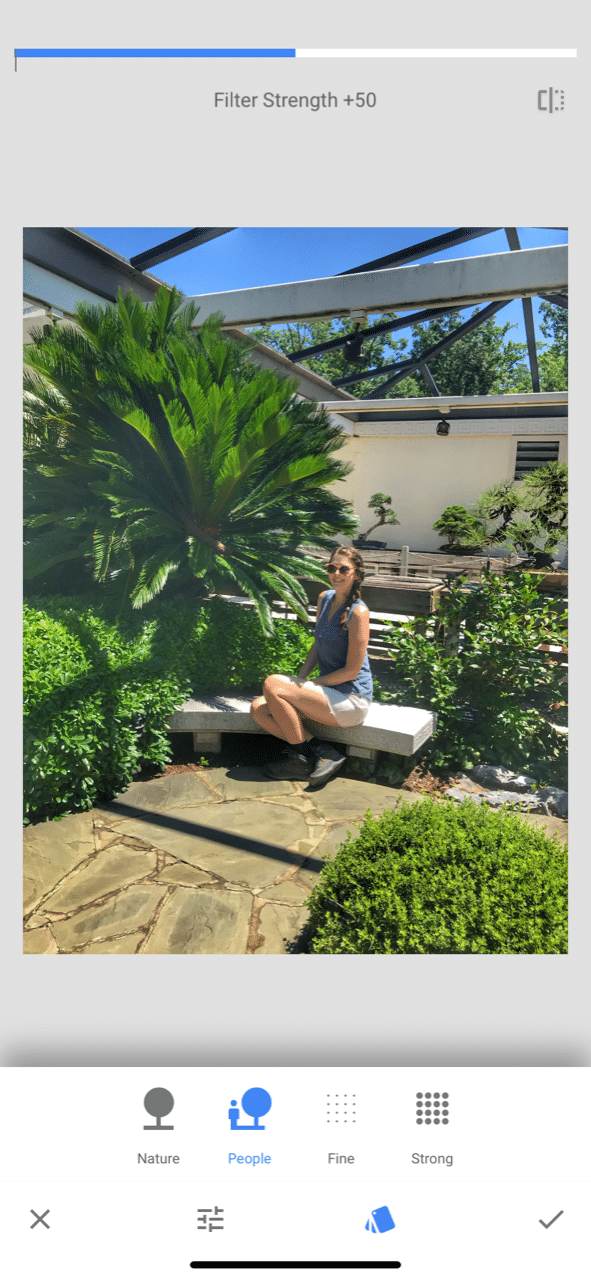
The first tool I use is HDR Scape, which is the best tool for the background of an image. It is most dramatic with nature or landscapes, but architecture also benefits from this. You can also identify whether it’s a nature only picture or there are people in it.
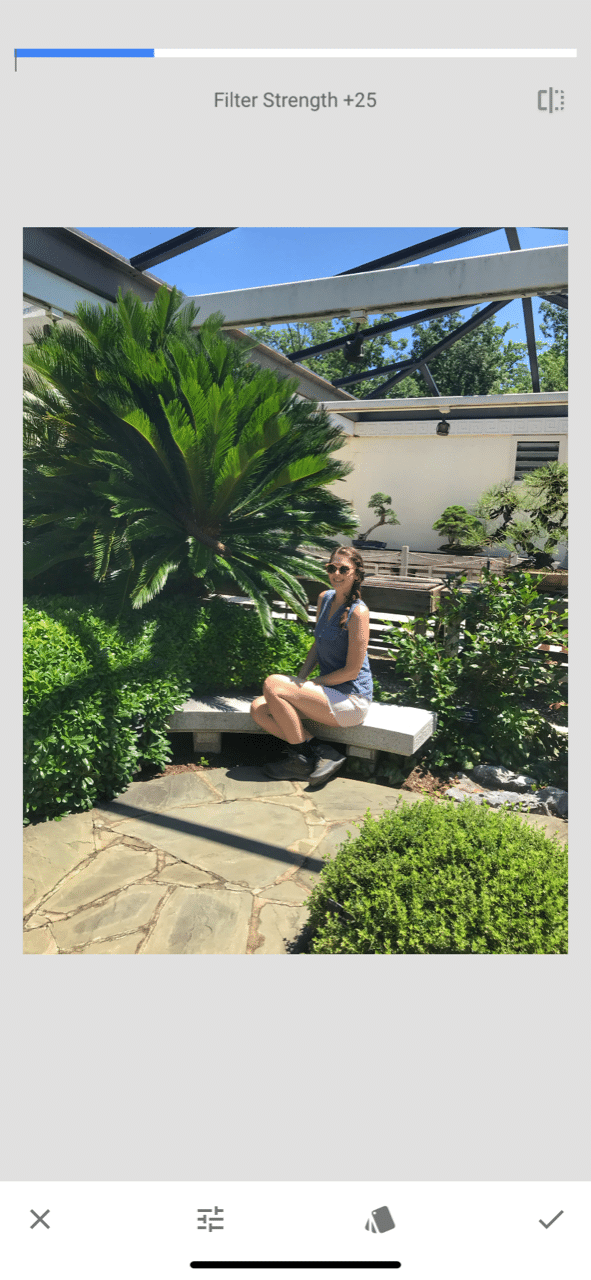
Once you click on HDR Scape, you’ll see the photo become much more vibrant and intense. The default here is actually too edited at times, so we are going to adjust this. At the top, you’ll see the Filter Strength +50. Hold your finger on the screen and then drag it so that the Filter Strength goes down. You’ll see that the picture starts to look more realistic and not overly edited. The number you stop at is completely up to you and the look you’re going for, but I usually leave mine at around Filter Strength 25+ or around that number.
After you’ve gotten the Filter Strength where you want it, make sure to click the check mark in the bottom right to save it. By clicking the check mark, the app takes you back to the start screen, where we will move to our next tool.

Step 3: Tune Image
Our next tool will be Tune Image. With this tool, all I usually do is click the magic wand icon. This will auto-adjust the brightness, saturation, contrast, etc. You can click the icon to the left of the wand to adjust each of these individually, if for instance you want to increase brightness more than saturation.
Don’t forget to click the check mark again to save!
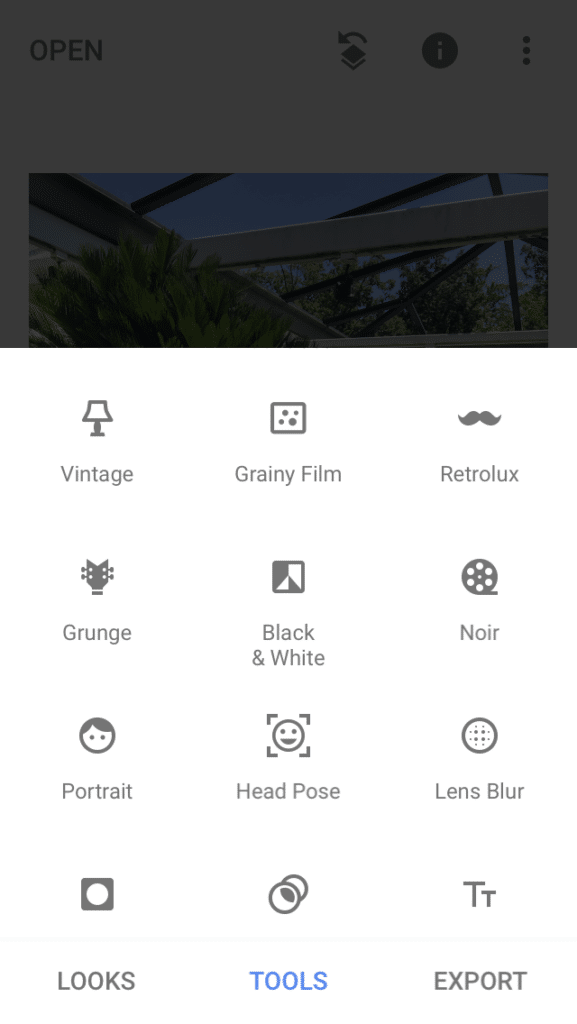

Step 4: Portrait
If your picture has people in it and you want to highlight the faces, then you’ll want to use the Portrait tool. Sometimes the app doesn’t recognize the faces right away, but keep letting it try and it will eventually lock in on the faces.
Once it identifies a face, more filters will pop up on the bottom of the screen. Depending on how much emphasis you want on the face, you can choose which filter and also adjust the Face Spotlight at the top, like we adjusted the Filter Strength before.
Again, remember to click that check mark to save!
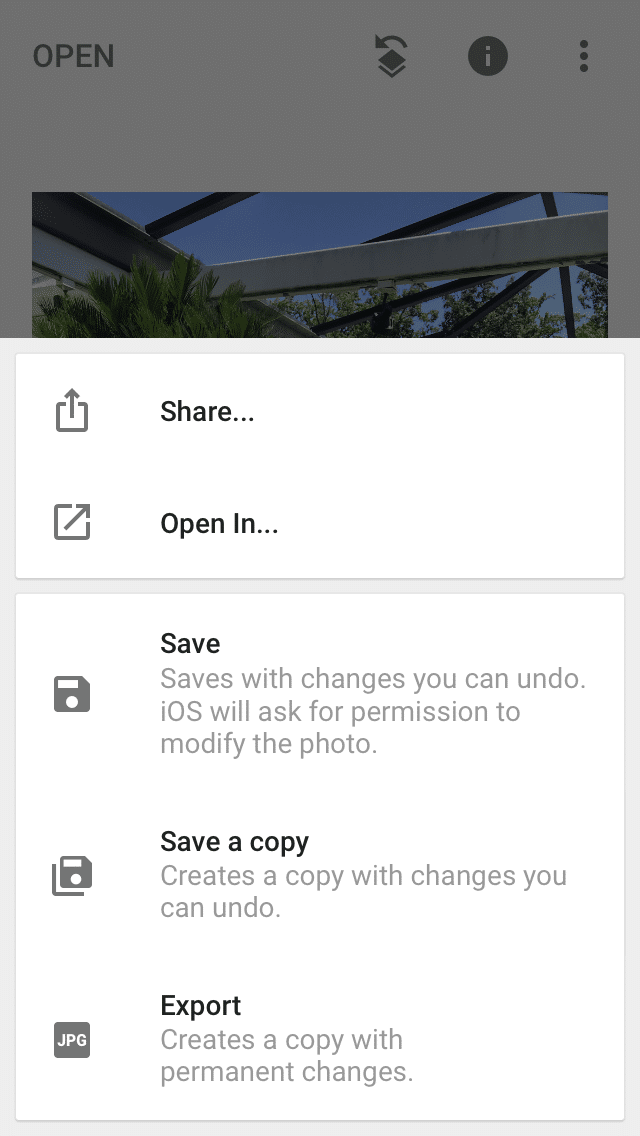
Step 5: Export
If you are happy with your newly edited photo, you can click on the Export button in the bottom right and then choose your save option. I usually just hit Save or Save a copy, depending on if I want to keep the original.
Final Tip: If you like the editing options that are built into your photos sections of your phone, you may want to go in there and auto-edit again. When I do this on my iPhone, it brightens up the picture even more.
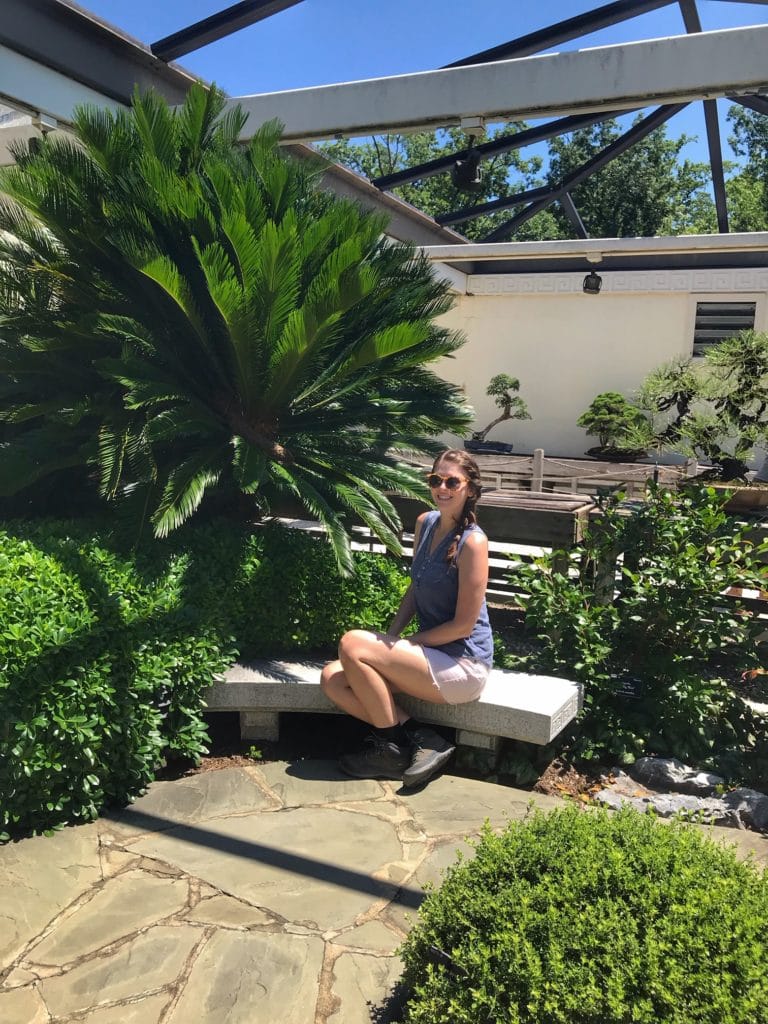
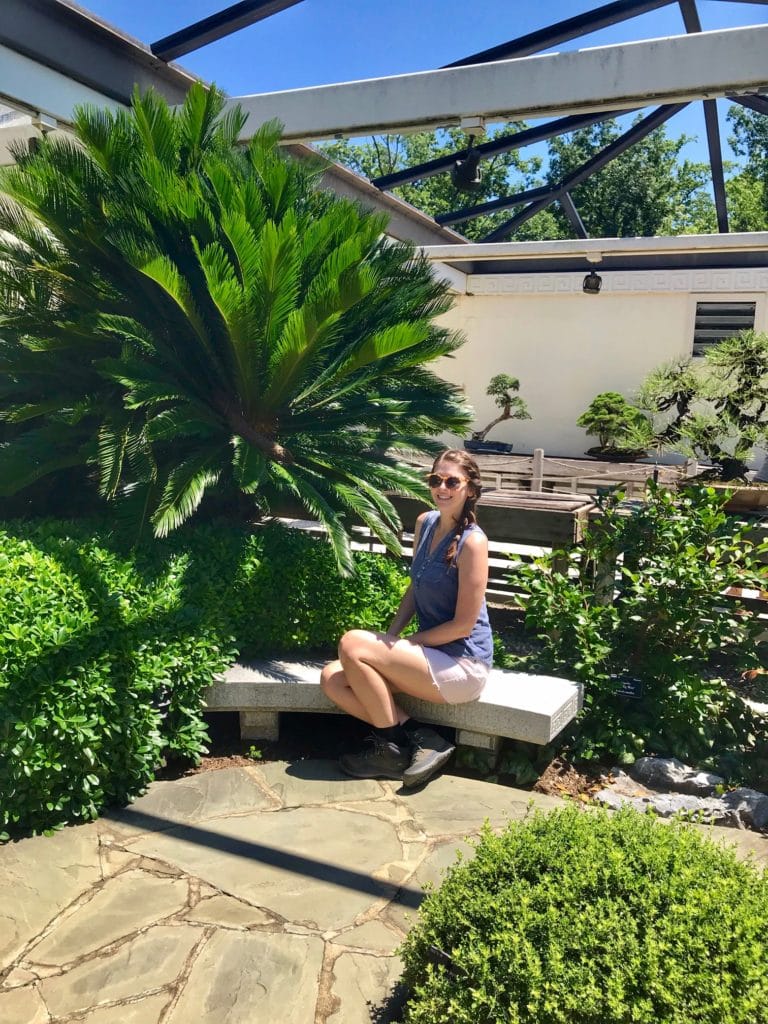
Before and After
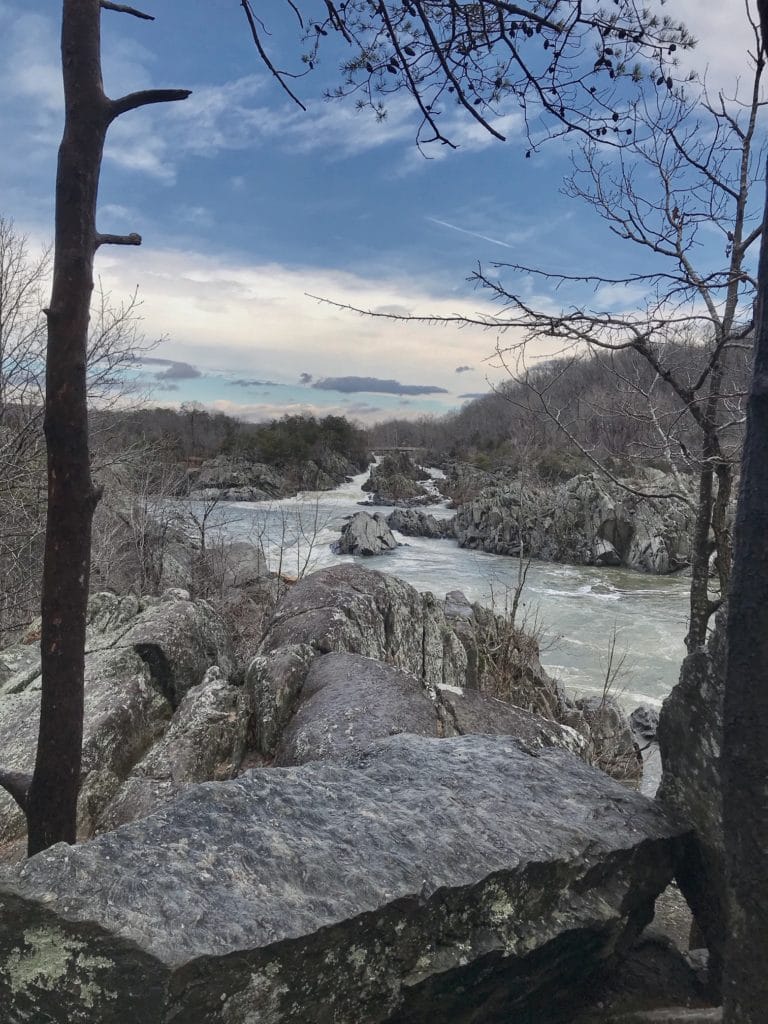
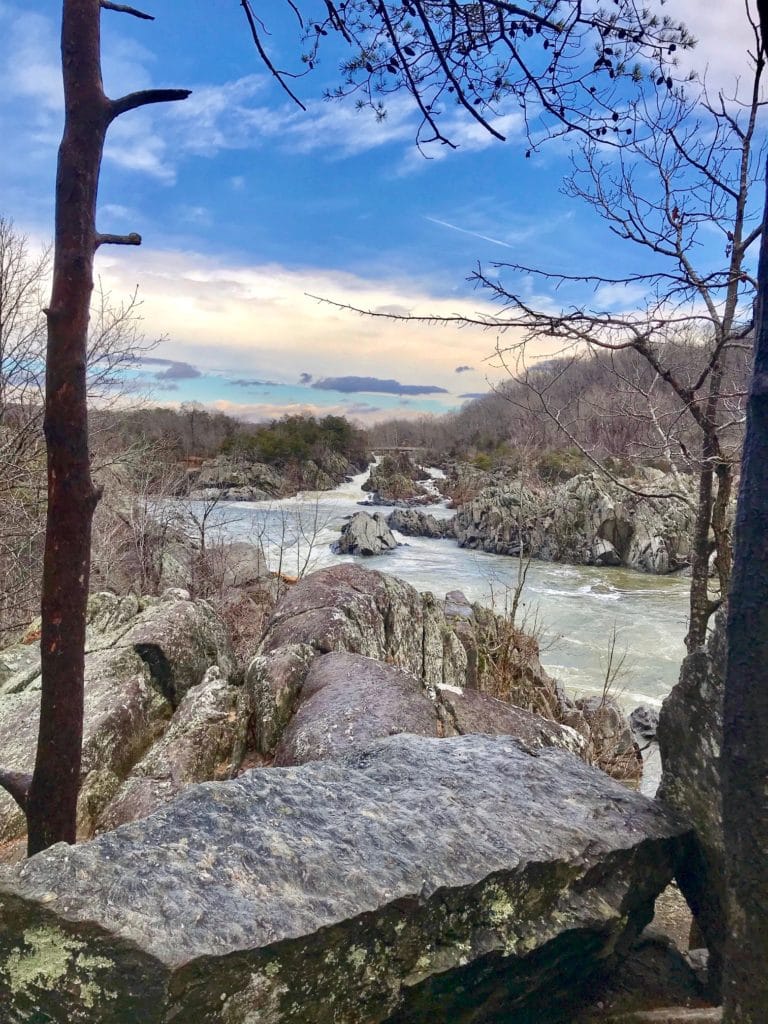
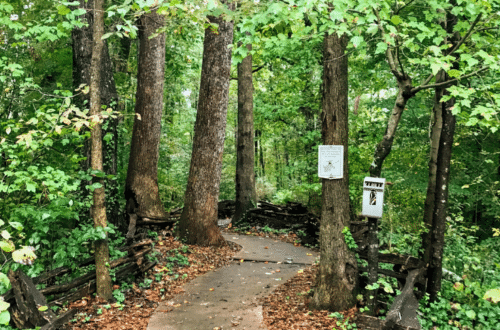
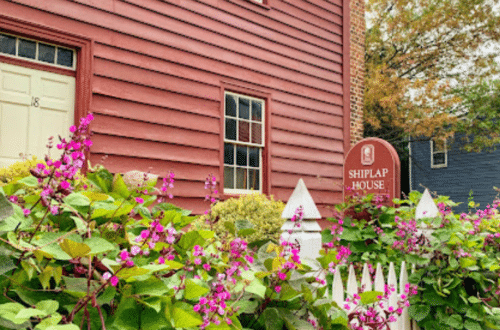
Here is the Before and After from the example image I used. You can see it’s not anything crazy, but Snapseed helps to enhance the color, vibrancy and brightness of the image. Also, I included some other Before and Afters to give you a better idea of the difference that Snapseed can make.


Now you are a pro!
Go forth and impress your millions of social media followers. Or your mom and best friend. Or just yourself. Let’s be honest, we take pictures for ourselves more than anyone else. And speaking of taking pictures of ourselves, check out my tips on how to take some awesome shots while traveling solo.
If you are ready to do even more editing on your photos, stay tuned for Part 2: How to Use Snapseed for Instagram Worthy Photos. I’ll go over some more advanced tools in the app for even more awesomeness!



37 Comments
Jennifer Morrison
This looks like an awesome app!!! I realized that I have this app on my phone, but never used it. Thanks so much for all of the info. I think this will be a great help!
Kat Califf
I love snapseed and use it all the time!
Cynthia
This was great! I’ve never seen this app before. The before & after pics definitely convince you it’s worth it. Thanks for sharing!